Evan's faux zinc dresser.
The other day I shared our new little guy's nursery with you and said I would write more about the dresser that was in the reveal. I LOVE this dresser and how it turned out!
I ventured to the thrift store in hopes to find an old dresser with details and in good condition and of course a great price that I could re-do for the nursery. In the first store I went in to I found this... the price? $30! It wasn't in great condition but all the drawers worked, there wasn't much damage to it and it was the perfect size. The only thing wrong with it is there was a small piece of the veneer missing from one of the top back corners. I really could have left it alone as no one would have seen it once it was styled with accessories, however I never leave well enough alone.

I decided I would try to peel/scrape the veneer off and ended up stuck with this! At this point I began to freak out, mind you I was 7 months pregnant and very emotional at this time. If you follow me on instagram you may recall me outburst for help. I ended up on Pinterest to see if there were any tricks to getting this stuff off and that's where my saving grace came! I read another DIY that had this same issue and what they did was place wet towels on the veneer and let it sit for an hour or 2, I let mine sit all night, and then peeled/scraped it off. The moistness from the towel loosens the glue so it comes off like butter, most of it anyway. I had to "soak" some areas that were really stuck but it eventually came all the way clean!

I had seen a few zinc finished dressers floating around and decided I would go that route {after trying out a few different colors and not liking them}. I first painted my dresser a medium/dark grey I had laying around {that I made into chalk paint}, then used some clear and dark wax, silver craft paint, a brush, and a rag to get the effect I wanted.

First drop some silver paint on the piece {don't put too much on at once because it tends to "stain" where you dropped it if you're not fast enough to work it in}.

Then get some clear wax on your brush.

And dab the silver spots all over so it looks like this.

Then I brushed it around to get this effect.

And kept adding more clear wax to smooth it all out so it looked like this.

Because I wanted more even splotches of the light color, I put a little silver onto my rag and with a circular motion added it to some areas like this.

This step gives it more of that zinc finish I think. This picture shows this step having been done on the left side of this drawer but not the right side yet.

Then I tried some dark wax on one drawer and decided I liked it {top is with dark wax, bottom is with only the steps above}.

I did the same thing here as above pretty much. Just dabbed some dark wax in areas {using the same brush}, and then with the same rag going in a circular motion, rubbed it in. If you happen to use too much dark wax, just rub some clear over it and it helps to spread it out a bit and make it not look so strong.

Here is the drawer above after it's been blended.

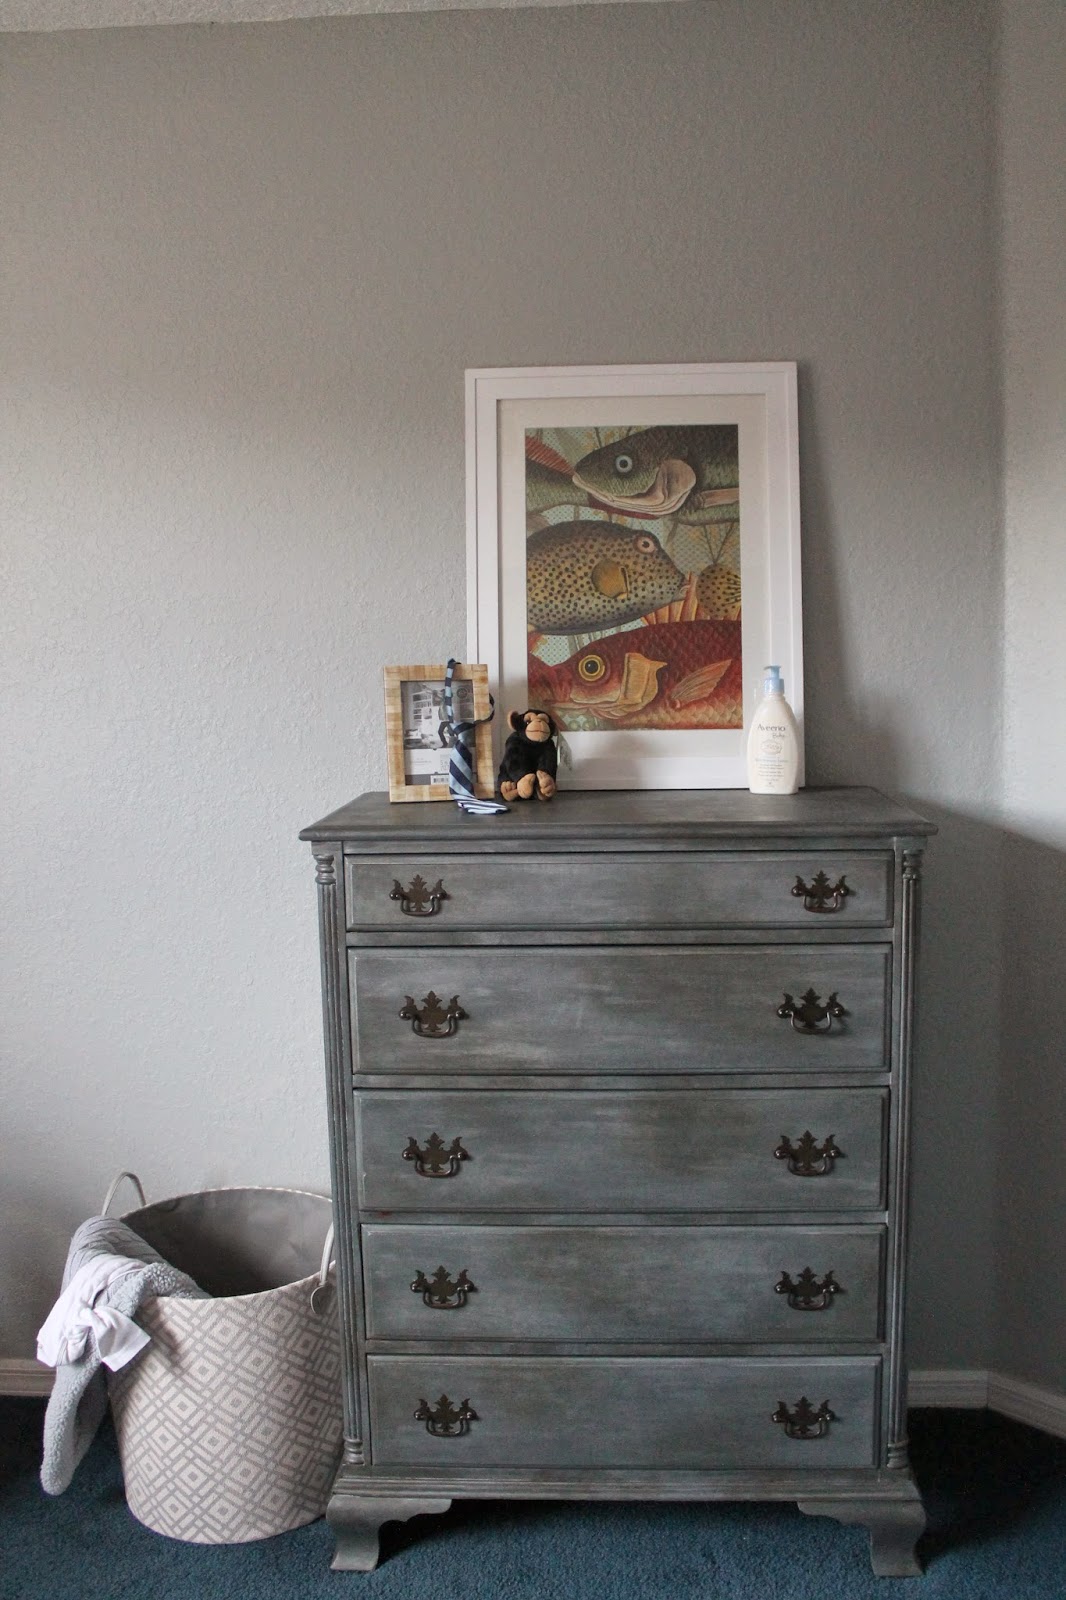
And here's the finished dresser and some detail shots.


I choose to use the original hardware, mainly because I was too tired and lazy to look for anything else, and because I thought it looked ok with the new finish. I may eventually change it out. I love how it's a style he can grow with and even when he hits the teenage years it will still work {but we're not going to think about that day right now!}
Any fun new finishes you've experimented with lately and love how it turned out? Do tell!!!
Meg

Comments